So, you've found yourself in a bit of a predicament with your electrical system in Tucson. Don't worry, we've all been there, desperately searching for a cost-effective solution to our electrical woes.
Well, fret not, because in this discussion, we will explore some budget-friendly DIY electrical repairs that can save you both time and money. From safety precautions to troubleshooting common issues, we've got you covered.
So, sit tight and get ready to discover some handy tips and tricks that will have you fixing electrical problems like a pro.
Key Takeaways
- Safety precautions are essential when performing DIY electrical repairs, including turning off power, using voltage testers, and wearing protective gear.
- Having the right tools, such as screwdrivers, wire strippers, voltage testers, wire nuts, electrical tape, and pliers, is crucial for budget-friendly electrical repairs.
- Troubleshooting common electrical issues at home, such as tripping circuit breakers, flickering lights, and non-working outlets, can often be resolved by simple actions like redistributing the load, checking and tightening connections, and resetting GFCI outlets.
- Replacing a light switch can be done step-by-step by turning off power, removing the old switch, installing the new switch, securing connections, and testing the new switch.
Safety Precautions for DIY Electrical Repairs
To ensure your safety while attempting DIY electrical repairs, it's crucial to follow these precise and technical safety precautions. Understanding electrical circuits and avoiding common DIY electrical mistakes is essential for a successful and safe repair.
Before starting any electrical repair, make sure to turn off the power to the circuit you'll be working on. This can be done by flipping the corresponding circuit breaker in your electrical panel. Always double-check that the power is off by using a voltage tester. This simple tool will indicate whether there's any electrical current present in the circuit.
When working with electrical wires, it's important to use the right tools and equipment. Insulated gloves and safety goggles should be worn to protect yourself from potential electric shocks or sparks. Additionally, ensure that all your tools are in good condition and properly insulated.
It is crucial to avoid overloading circuits by not plugging too many devices into a single outlet or using extension cords excessively. Overloading circuits can lead to overheating and potential fire hazards.
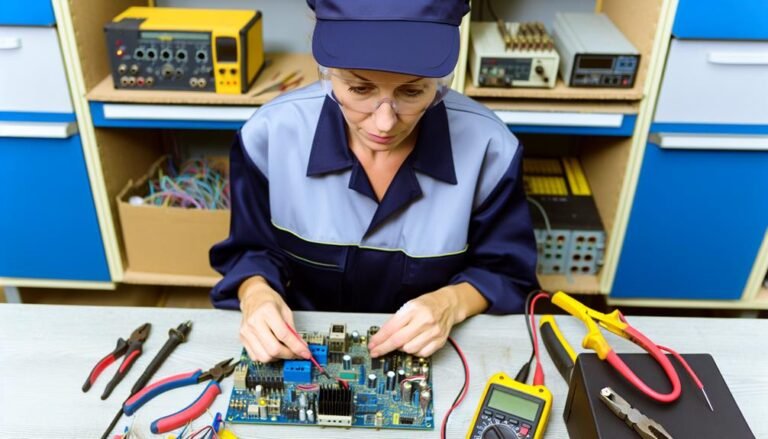
Essential Tools for Budget-Friendly Electrical Repairs
Before you start budget-friendly electrical repairs, it's crucial to have the right tools at your disposal. Having the essential tools for cost-effective electrical repairs won't only save you money but also ensure that you can complete the job efficiently and safely. Here are some tools you should have in your toolkit to tackle budget-friendly electrical upgrades.
- Screwdrivers: A set of screwdrivers with different sizes and types of heads is essential for removing and installing electrical outlets, switches, and covers.
- Wire strippers: These tools are used to strip the insulation off the electrical wires without damaging the conductors. They're necessary for making proper connections and ensuring electrical safety.
- Voltage tester: A voltage tester is crucial for checking if a circuit is live or not. It helps you identify potential electrical hazards before starting any work.
- Wire nuts and electrical tape: These are essential for securing and insulating electrical connections. They're cost-effective solutions for joining wires safely.
- Pliers: Needle-nose and lineman's pliers are handy for gripping, bending, and cutting wires during electrical repairs.
- Circuit tester: A circuit tester is used to check if electrical outlets are properly grounded and wired correctly. It helps ensure the safety of your electrical upgrades.
Troubleshooting Common Electrical Issues at Home
If you're experiencing electrical issues at home, troubleshooting them is essential to ensure the safety and functionality of your electrical system. Here are some electrical wiring troubleshooting techniques and common electrical problems along with their solutions that you can try on your own:
- Tripping Circuit Breakers: If your circuit breaker keeps tripping, it could be due to overloaded circuits or a faulty appliance. Start by identifying the circuit that's tripping and unplug any devices connected to it. Then, try resetting the circuit breaker. If it trips again, you may need to redistribute the load or contact a professional electrician.
- Flickering Lights: Flickering lights can be caused by loose bulbs, faulty wiring connections, or voltage fluctuations. First, check if the bulb is tightened securely. If the problem persists, inspect the wiring connections and tighten any loose ones. If the issue continues, it could be a sign of a more significant electrical problem and you should consult a professional.
- Electrical Outlets Not Working: If an outlet isn't working, it could be due to a tripped GFCI (Ground Fault Circuit Interrupter) or a faulty outlet. Locate any GFCI outlets in your home and press the reset button. If that doesn't solve the issue, you may need to replace the outlet or seek professional help.
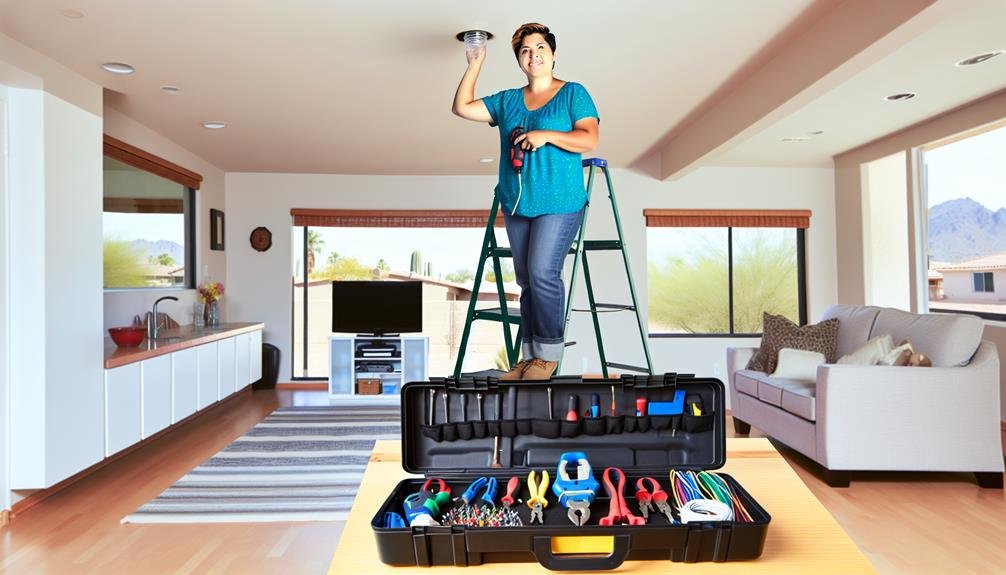
Step-By-Step Guide to Replacing a Light Switch
If you're ready to tackle your electrical issues and take control of your home's lighting, it's time to learn how to replace a light switch. Replacing a light switch is a simple and cost-effective way to upgrade the functionality and aesthetics of your home. By following these step-by-step instructions, you can confidently replace a light switch on your own.
- Turn off the power: Before starting any electrical work, always turn off the power at the circuit breaker to ensure your safety.
- Remove the old switch: Use a flathead screwdriver to remove the cover plate. Unscrew the screws holding the switch in place and gently pull it out, exposing the wiring.
- Disconnect the wires: Take note of the wiring configuration before disconnecting the wires from the old switch. Use a voltage tester to ensure the power is off and then disconnect the wires.
- Install the new switch: Connect the wires to the corresponding terminals on the new switch, using the same wiring techniques as the old switch. Make sure the connections are secure.
- Secure the new switch: Carefully insert the new switch into the electrical box. Screw it in place using the provided screws. Attach the cover plate.
- Restore power: Turn the power back on at the circuit breaker and test the new switch to ensure it's working properly.
Tips for Repairing Electrical Outlets on a Budget
To repair electrical outlets on a budget, consider these cost-effective tips:
- Inspect and clean: Regularly inspect your electrical outlets for any signs of damage or wear. Loose connections, cracks, or burning smells indicate potential issues that need attention. Cleaning the outlets with a dry cloth can remove dirt and debris that may affect their performance.
- Tighten connections: Over time, the connections inside electrical outlets can become loose. Before replacing the entire outlet, try tightening the screws on the receptacle and the wires. This simple step can often solve common issues like flickering lights or intermittent power.
- Replace worn components: If the outlet cover or the plug itself is damaged, consider replacing those components instead of the entire outlet. Outlet covers are inexpensive and easy to install, while replacing a plug can be a simple DIY project. These cost-effective alternatives can give your outlets a fresh look without breaking the bank.